
Whether gaming or business-related, Discord offers a ton of utility for your small group of friends or large community.
This guide will cover how to create your own Discord server, as well as a few tips to help customize your server settings to your specific needs.
How to Make Discord Servers in the Desktop App
To create your own Discord server you will need to create a Discord account and download the Discord client from their website at https://discord.com/.
Once you have done this, open Discord and follow these steps:
-
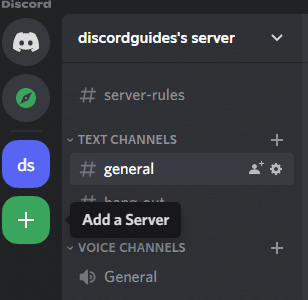
STEP 1

On the left-hand side click the plus sign to add a server.
-
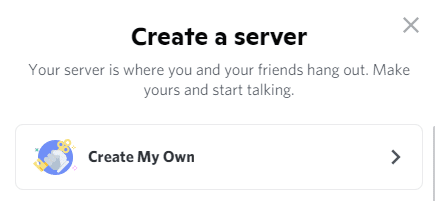
STEP 2

Select ‘ create my own’ at the top of the new menu.’
-
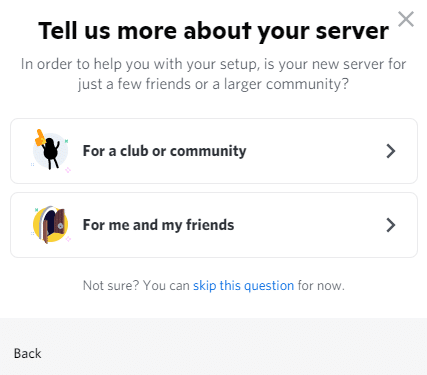
STEP 3

Select ‘skip for now.’
-
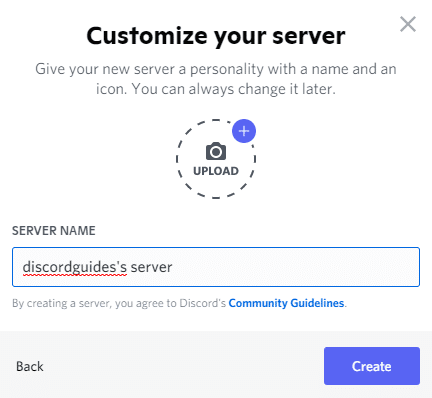
STEP 4

Type in your server name.
-
STEP 5
Choose an image that represents your server.
-
STEP 6
Click Create and your new Discord server is now live.
Following these steps will create a VERY basic Discord server. In order to personalize your server to suit the needs of your community, you will need to dive into the server settings.
How to Personalize Your Community
Many successful Discord servers have a variety of text channels and voice channels for members to interact in.
If you are managing a large server you may find it necessary to make an outline of exactly what your server needs to suit its members.
Some things to consider when designing your server:
- How many members do you plan on having?
- What kinds of text and voice channels will your members need?
- Will some member roles have specific channels only accessible by them?
The answers to these questions will help to shape your Discord server.
A large server, 100+ people, will need much less organization than a server with only 20 people. The same goes for a server with 500+ people, compared to 100.
The amount and types of text and voice channels available and who can access these channels can play a large role in the success of your server.
If there is only one text channel for 200 people, the content posted might become lost in the daily messages posted by that many users. Creating separate channels for different content will make it much easier for server members to find the information they are looking for.
However, be mindful to not create too many channels, as readability is also an important factor in the success of a server. If there are 50 different channels, members may find it equally as hard to navigate as having only one channel.
How to Use Discord Templates
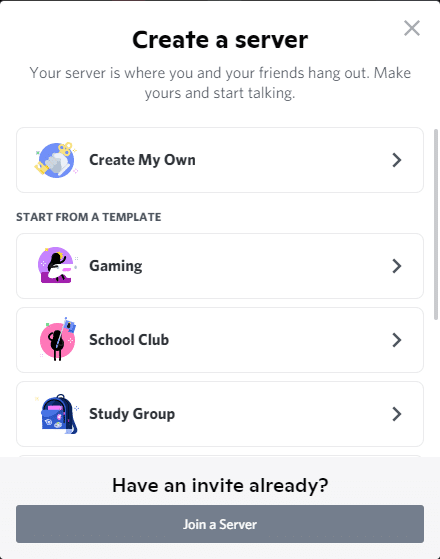
Discord offers a few templates when creating your new Discord server. In the above step-by-step guide, this option was skipped, but some may find it nice to have a premade starting point for their new server.
To access the templates, instead of selecting skip in step three of the above guide, select one of the options offered that fits your server type.
(Unfortunately, if you have already skipped this step, Discord does not currently have a function to integrate your server with a premade template. So, sadly, the option “skip for now” is a bit of a misnomer)
Choosing one of these templates when you create your server will start you off with a couple of extra channels that pertain to the template you have chosen.
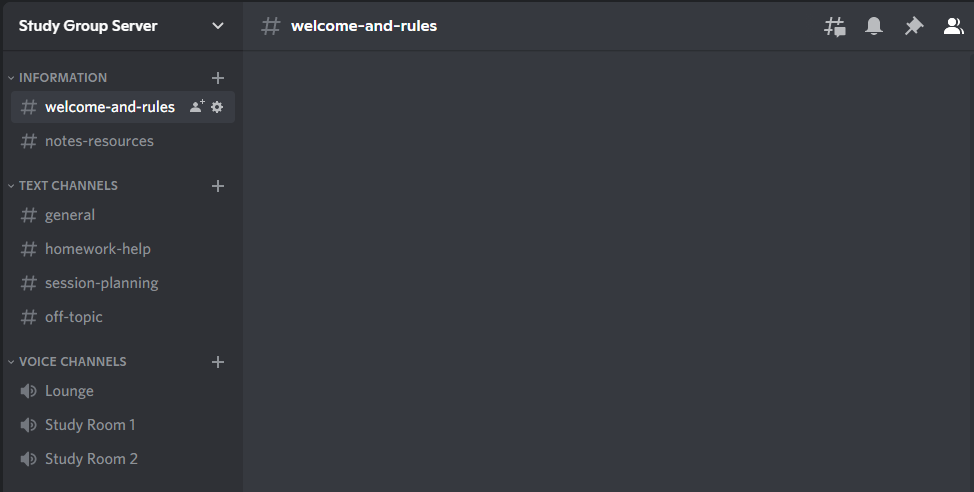
Here is a comparison of a basic server and a study group template.
Basic Discord Server:

Study Group Server:
How to Create Custom Text and Voice Channels
Creating your own channels is fairly simple if the templates are not to your liking.
-
STEP 1
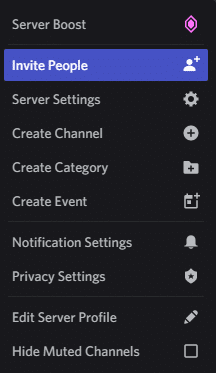
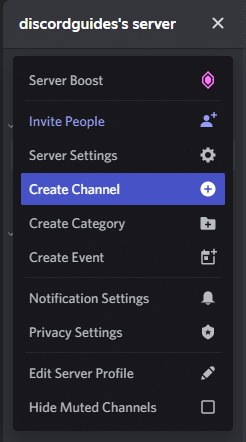
Click on the arrow next to the server name.
-
STEP 2

Select Create Channel.
-
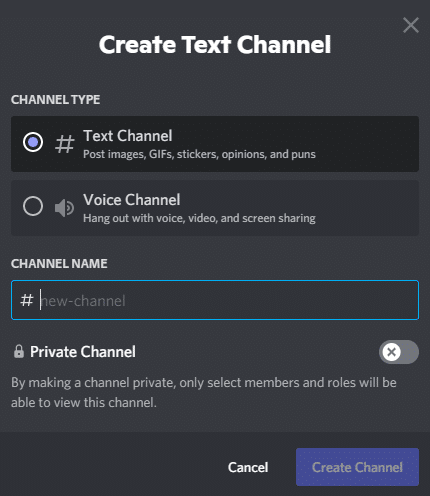
STEP 3

Select either text or voice and type the channel name.
-
STEP 4
Click Create Channel.
Further server organization can be accomplished using categories.
Categories should contain text and voice channels that are connected in some way.
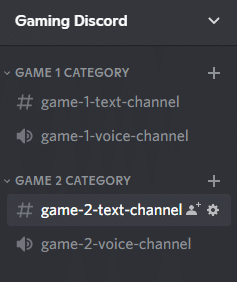
For example, if you are running a gaming Discord server, different games might have their own categories that the text and voice channels for those games are located. This will keep them separate from other games, allowing users to quickly and easily find the information they are looking for.
Example:
To create categories:
-
STEP 1
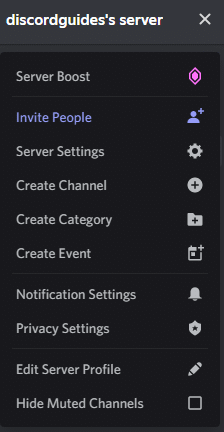
Click on the arrow next to the server name.
-
STEP 2

Select Create Category from the drop-down menu.
-
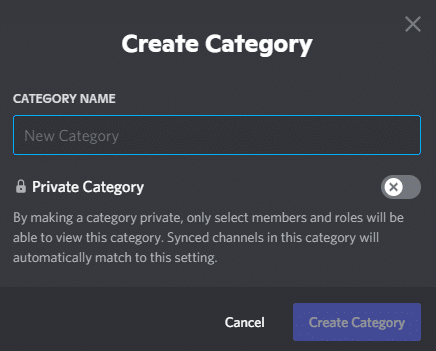
STEP 3

Type the name you want and click Create Category.
To add channels to the category follow the above guide for creating channels, then simply drag and drop the channel into the category you want it to be in. You can move channels around as much as you want.
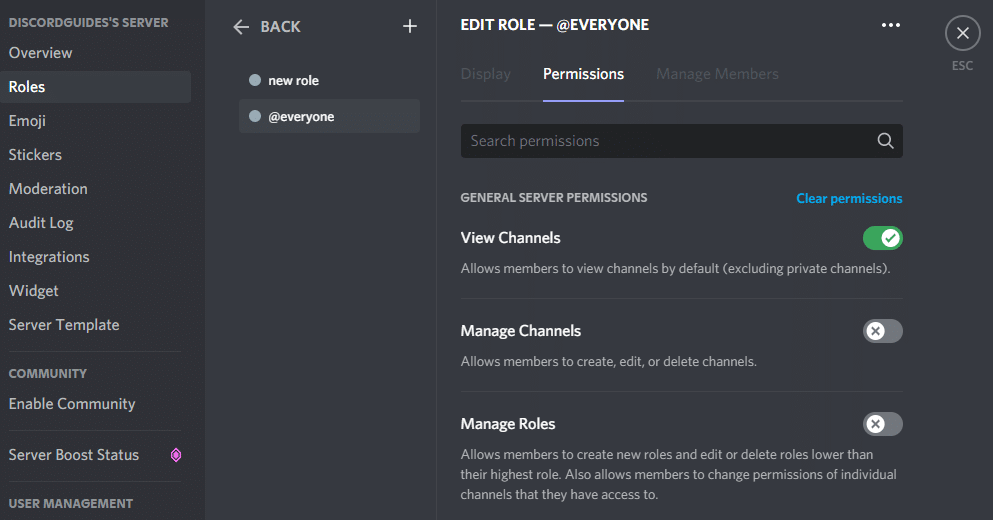
More Organization Using Server Settings
In the server settings, you can create and manage roles, permissions for channels and categories, as well as other options for viewability and ease of use for your members.
One important aspect of any good Discord server is the icon used to represent your server.
This icon can make your server stand out among the countless communities out there, so it might be smart to spend some time making sure your server is properly represented with a well-chosen server icon.
You can change your server icon in server settings:
Another good way to help organize your Discord server is to have fully fleshed out server roles.
This can be anything from simply separating moderators from the rest of your members, or a much more complex system designed to assign users more precisely.
Roles and permissions can be set in server settings: