
So maybe you’ve decided to start your server, or you just want to add some much-needed organization to a server you already have.
Whatever the case may be, you want to make sure you invite friends to the most professional and organized server you can have.
In this article, we will be covering how to make a discord channel, what kind of channels are available, as well as how to set permissions when you create channels in your Discord server.
How to Create a Discord Channel
When you make a new server, you are given some options that will start you with a few predefined channels based on the type of server you choose.
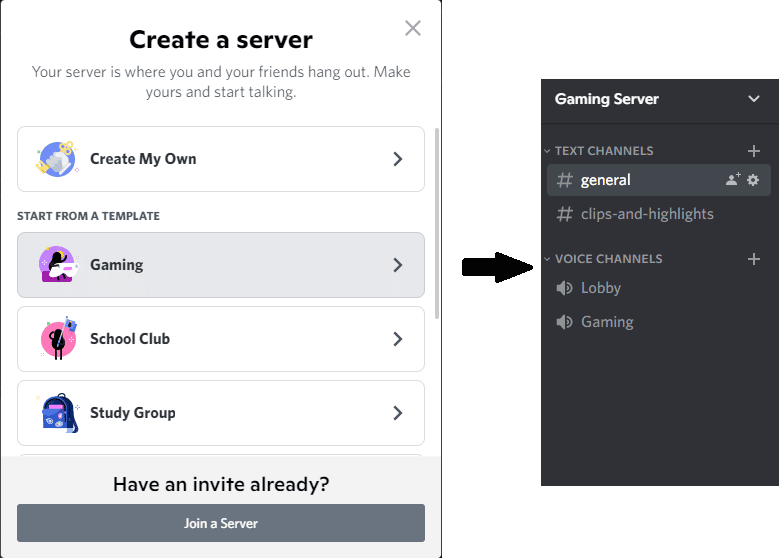
These channels may be nice at first, but eventually, you will want to make some new channels to help with the organization.
Luckily creating a new channel is very easy.
-
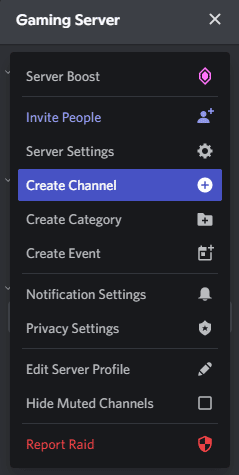
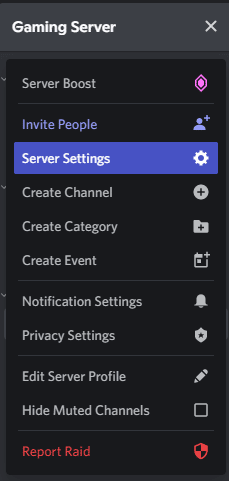
STEP 1

Click the server name in the top left and select Create Channel
-
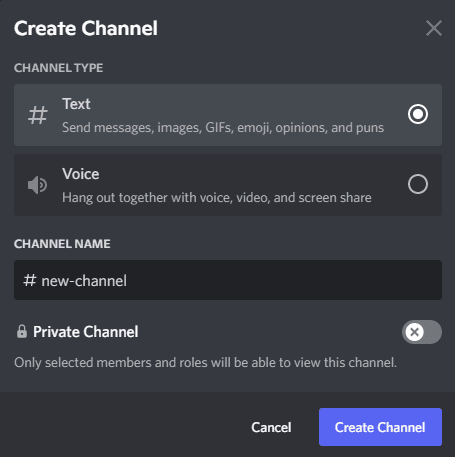
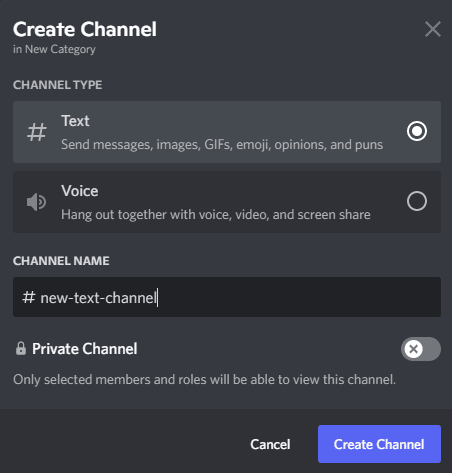
STEP 2

Choose either text or voice, type in a name, and click Create Channel
And that’s it, your brand-new channel is now ready to use!
How to Create a New Category
You may find you want a separate category for your new channel.
A category is one of the best ways to organize.
To create a category:
-
step 1
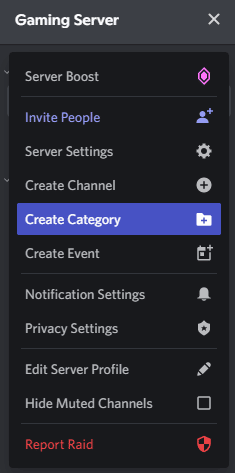
Click on the server name in the top left corner
-
step 2

Select Create Category.
-
step 3

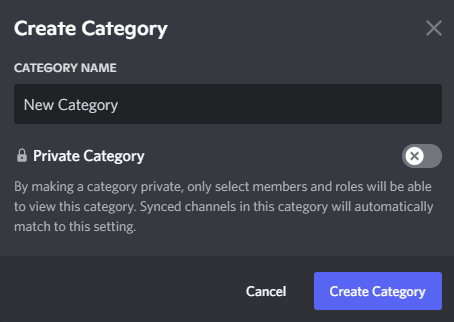
Name your new category whatever you like and click Create.
-
step 4

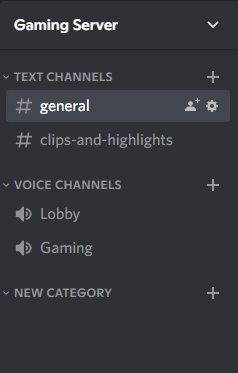
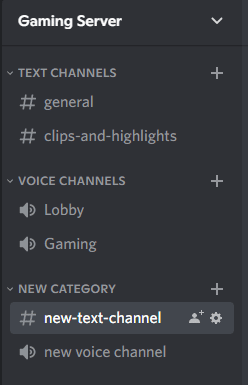
Your new category will show up in the left sidebar, and you are now free to make a brand-new channel.
How to Create a Channel
Now that you have your new category, it’s time to fill it with new voice channels and text channels for your users.
-
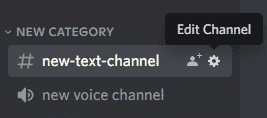
step 1

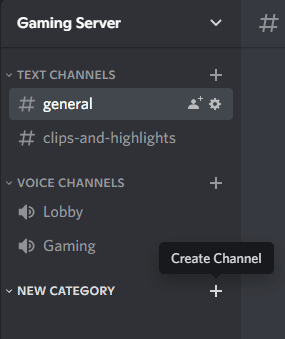
Click the Plus Sign to the right of the category name
-
step 2

Choose either text or voice, name the channel, and click Create Channel.
-
step 3

Your channels will appear inside your category on the left-hand side.
Feel free to create different categories and channels for different topics.
How to Create a Discord Channel on Mobile
-
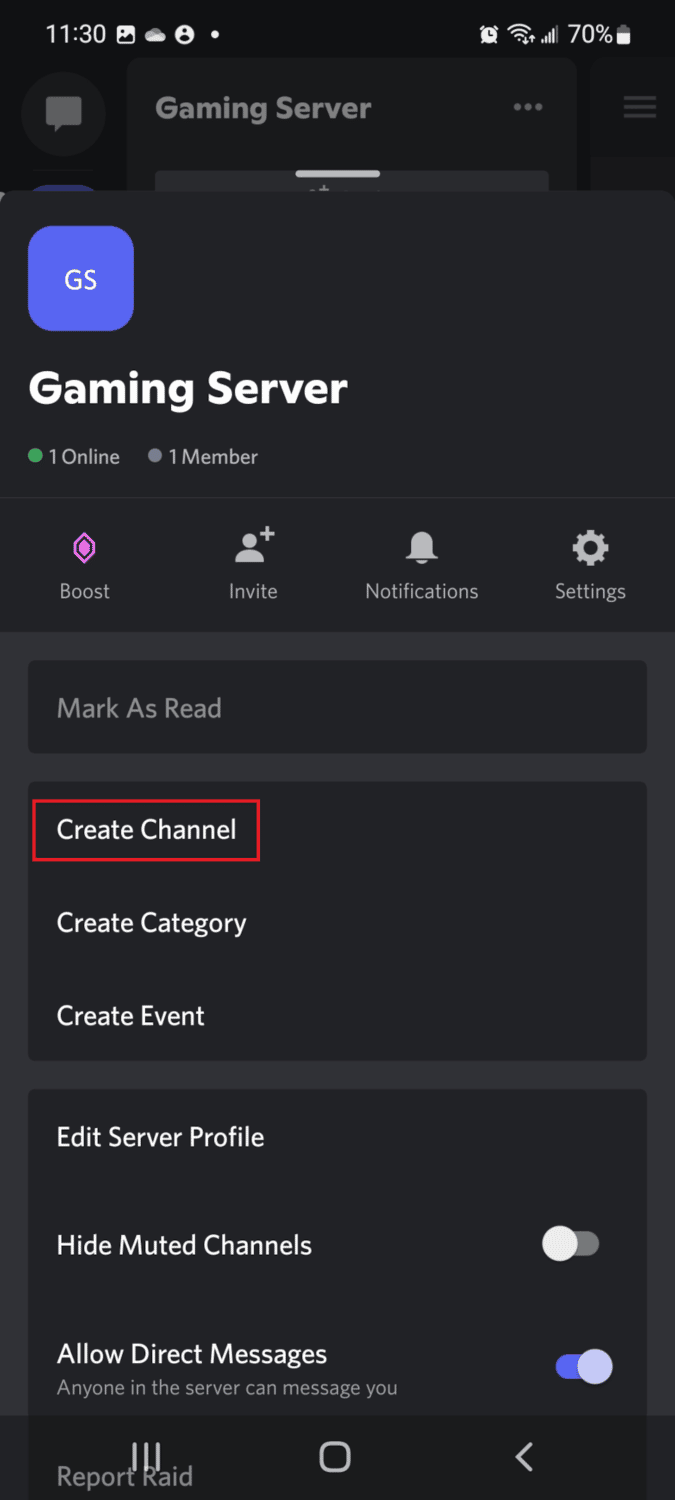
step 1
Select your server icon and tap on the server name at the top.
-
step 2

In the new window, scroll to find Create Channel.
-
step 3

Type in a name, select text or voice, and tap Create in the top right.
Your new channel will now appear in the left sidebar for you and your users to chat.

Types of Discord Channels
Text Channel
A text channel is for messages and pictures to be shared between users.
-
Read Only Channel
A read-only channel is a place where only specific roles can post.
To make a Discord channel read-only, you will need to change the permissions of the channel to allow only select members to post.
You can make a new read-only channel by selecting the correct permissions when creating the channel.
-
Announcement Channel
An announcement channel is like a read-only channel that is specifically for creating announcements for your users.
Voice Channel
Voice channels are for users to hang out and chat using voice.
-
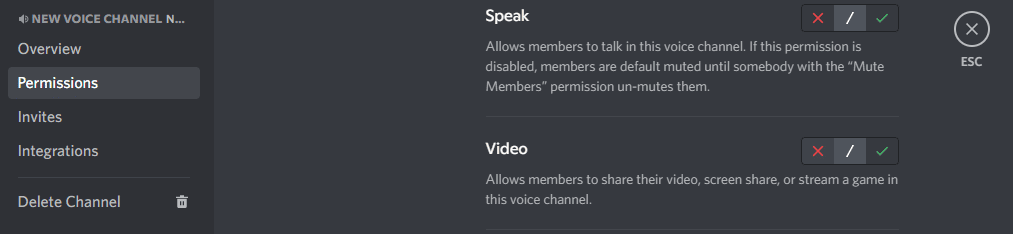
Video Chat and Streaming

Video and steaming are one of the coolest features of Discord. You can turn speaking and streaming permissions on or off in the Permissions section of a voice channel.
Private Channel
Aside from creating new text and voice channels, you can further organize your server by making any channel you make private.
When you make a channel there is a slider at the bottom of the window you can select to make it a private channel.
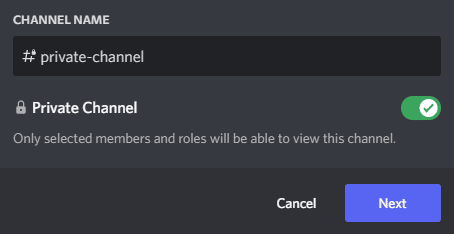
Select the slider (it should be green) and click Next.
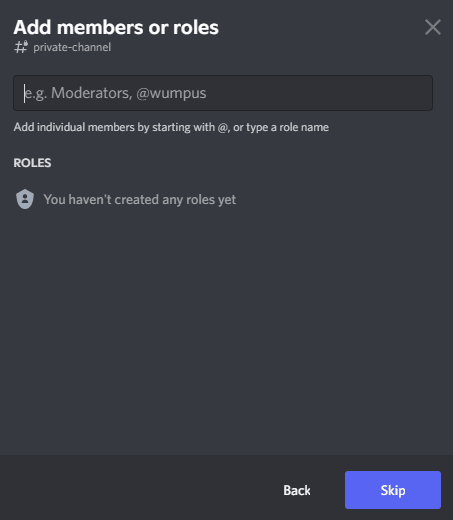
Now select any server roles you want to access the channel, or hit skip to do it later.
New Thread
A new thread is a temporary sub-channel created off a comment in a text channel
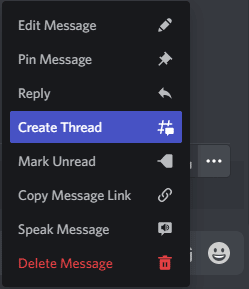
To create public threads or create private threads, click the three-dot icon on the right side of comment and select Create Thread
A new thread will now be opened on the right side of the Discord App for users to continue a discussion.
(Note: You must have a level 2 boosted server or higher to be able to create private threads for a few people. If not you will only be able to create public threads.)
Discord Channel Settings
There are a ton of channel settings that can be set to customize the way your Discord servers are organized.
You can make channels private and accessible to all the members or just new users.
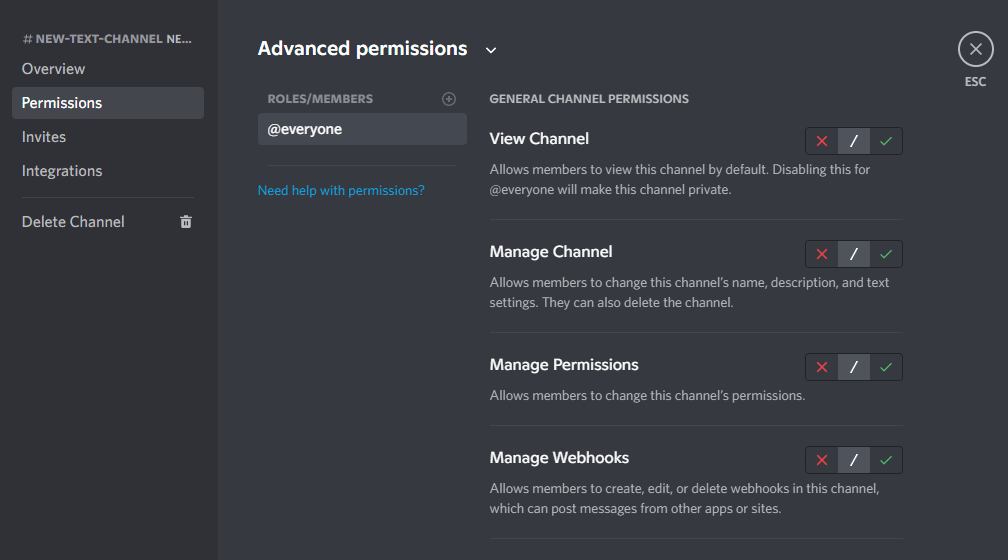
To change the settings for a specific channel:
-
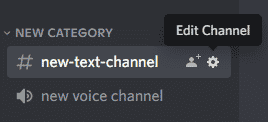
step 1

Select the gear icon to the right of the channel name.
-
step 2

In the Permissions tab you can change access for your entire member list, or just a few users or roles.
Scrolling down the permissions list, you will see a lot of options and customization.
Discord Server Settings
To set up roles and organize channels, you will need to go into the server settings.
In the server settings menu you have options to edit or make new roles, change channel settings, and a ton of other options for your Discord server.
-
New Role

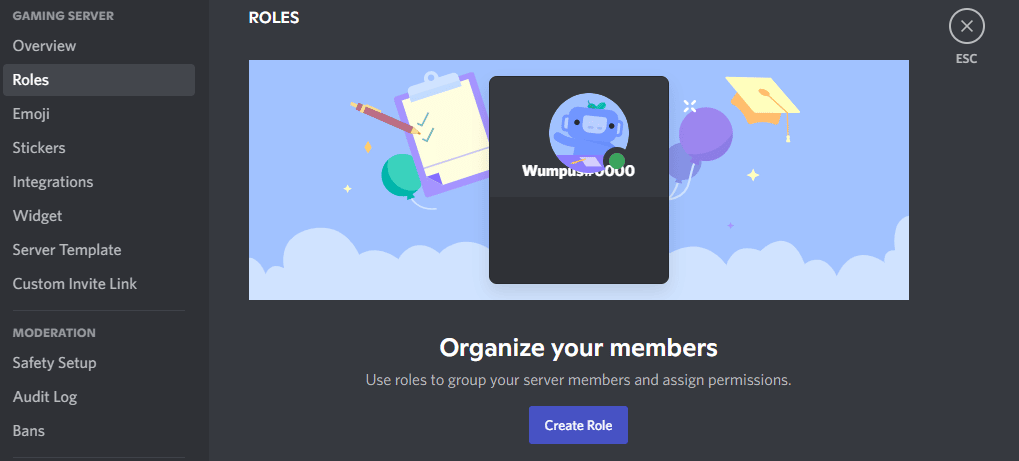
To create a new role in your Discord server open Server Settings and go to Roles.

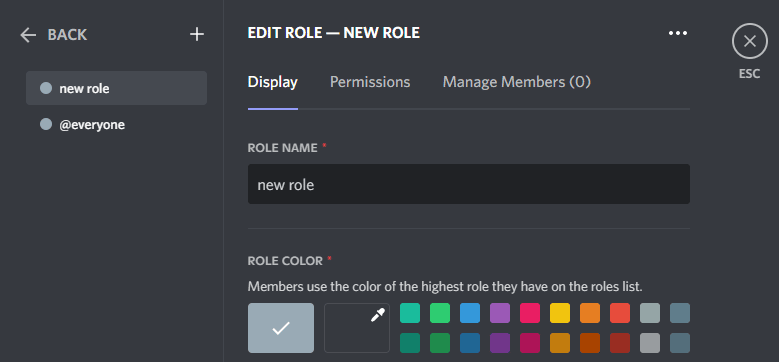
Select Create Role, choose a name and color for the role.

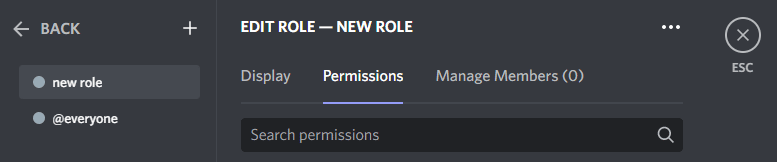
Here you can set role permissions as well.
-
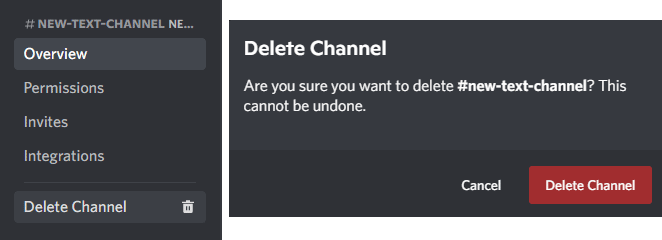
Delete channels
If you feel like you don’t need a certain channel anymore:

Select the gear icon next to the channel name.

Select Delete Channel at the bottom of the left side menu, then again in the pop-up window.