


Whether you are a streamer and you need to record Discord calls or even for personal use, you can start recording calls of your conversations on your Discord channel by using Audacity.
In this article, we will guide you through the steps you must follow in successfully recording Discord audio with Audacity.
There are many free audio editing programs available today; however, in this particular article, we will tackle and give an in-depth tutorial on recording audio files using Audacity record software. Keep on reading to learn!
Why Use Audacity to Record Your Discord Audio?
Audacity is a free audio editing program and a powerful audio editor where you can record an audio track from your audio recording devices. You can do anything with this app, from editing into decent quality audio to layering them with other soundtracks.
Audacity is easy to use, unlike other recording methods, and the software interface is pretty straightforward.
Audacity is available on all operating systems. Whether you are using Mac, Windows operating system, or even Linux, you can record Discord audio with Audacity.
How to Use Audacity to Record Discord Audio
As assured, Audacity is easy to use. You can follow the steps below to learn how to record Discord audio with the program.
-
STEP 1
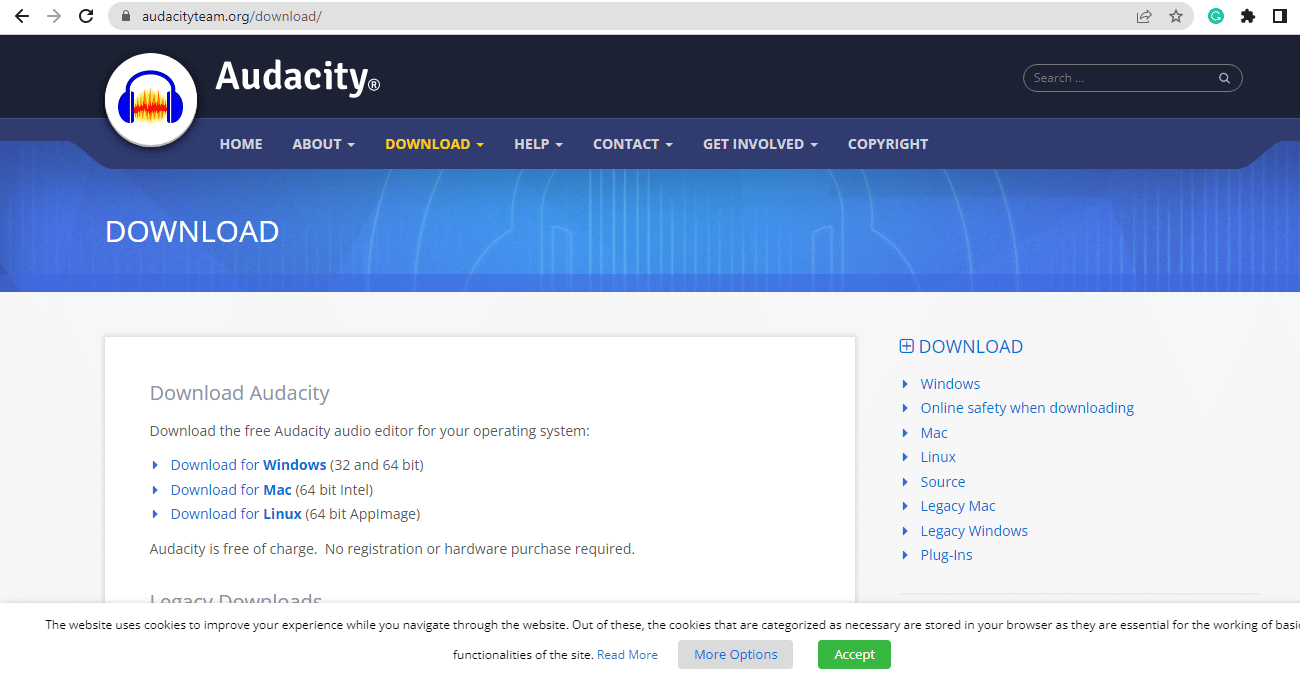
Of course, the first thing that you need to do is to download and install Audacity on your computer if you still have not done so already. You can do this by typing “Audacity free download” on your web browser, or you can simply click the link https://www.audacityteam.org/download/

-
STEP 2
Set Audacity up on your computer and launch it.
-
STEP 3
Open the sound settings panel on your computer by clicking on the speaker icon at the bottom right side of your taskbar.
-
STEP 4
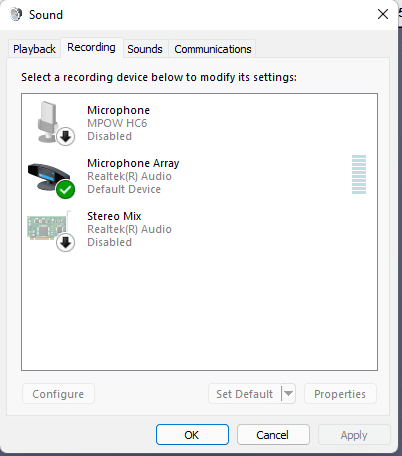
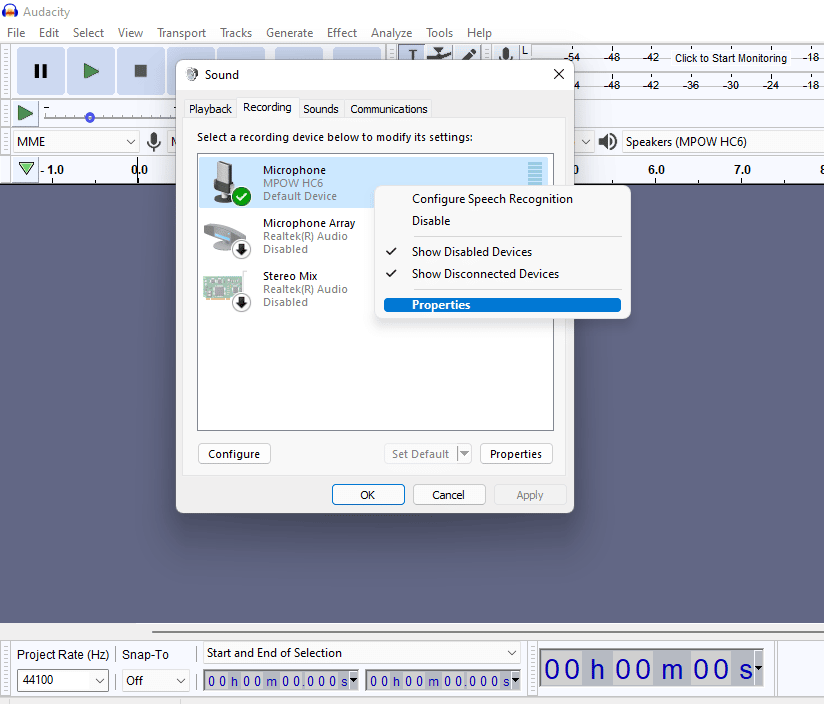
Click ‘Recording’ in the audio settings, and the audio devices available on your computer will appear.

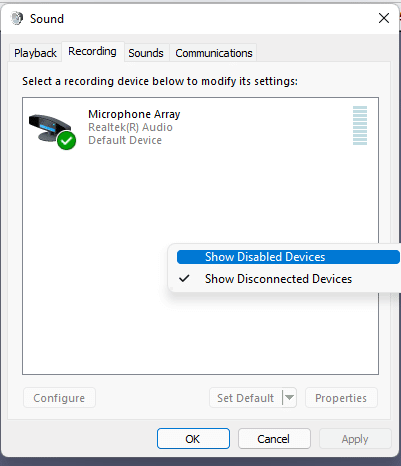
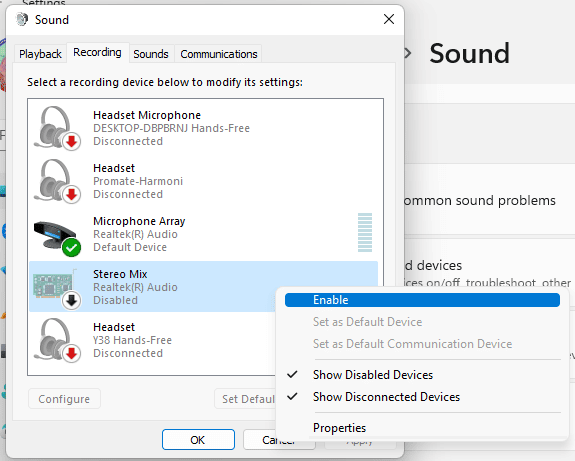
Show disabled devices, and they will appear on that panel. If your Stereo Mix/audio mixer is disabled, enable it.


-
STEP 5
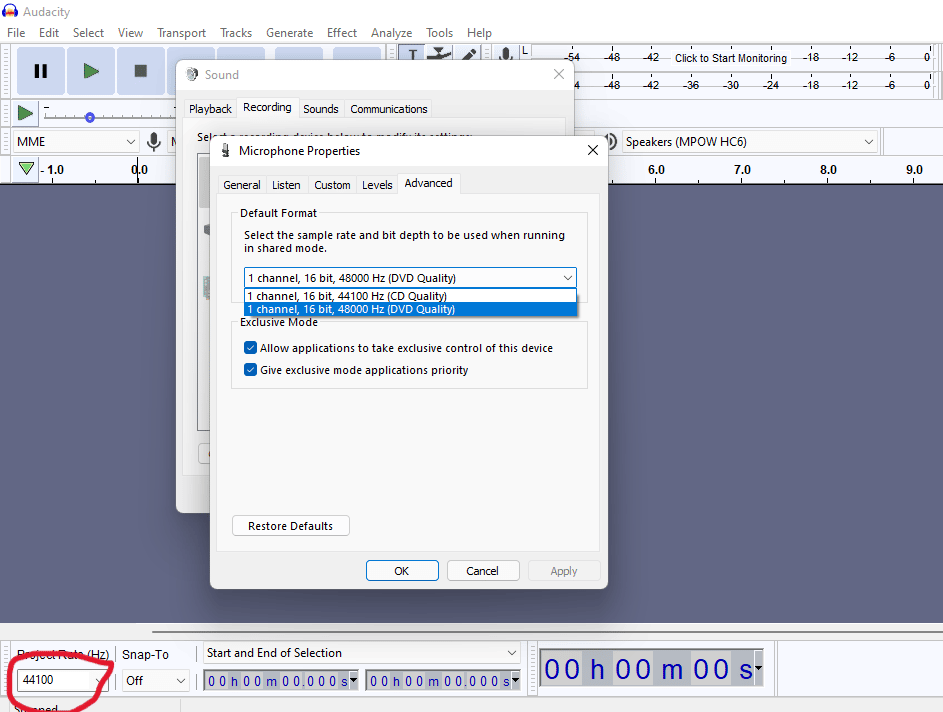
Select desktop audio; that is the microphone you currently use as a recording device. Right-click on the audio output device and click on ‘Properties’ on the popup window. Choose ‘Advanced’ and adjust the bit depth and rate accordingly, ensuring that it matches Audacity. By doing so, you will be able to provide decent-quality audio output capture by matching the two.


-
STEP 6
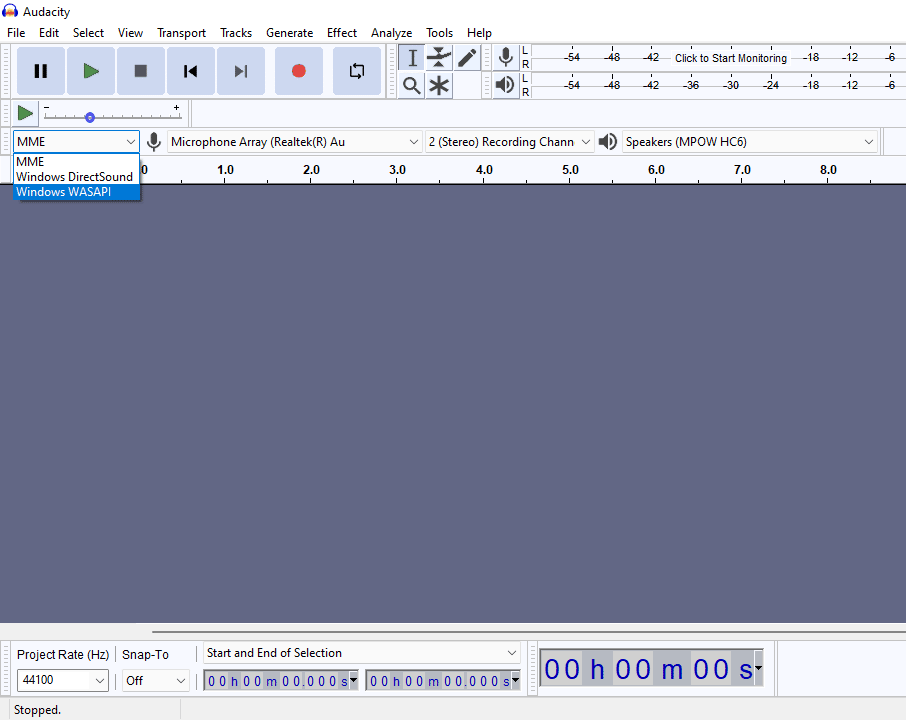
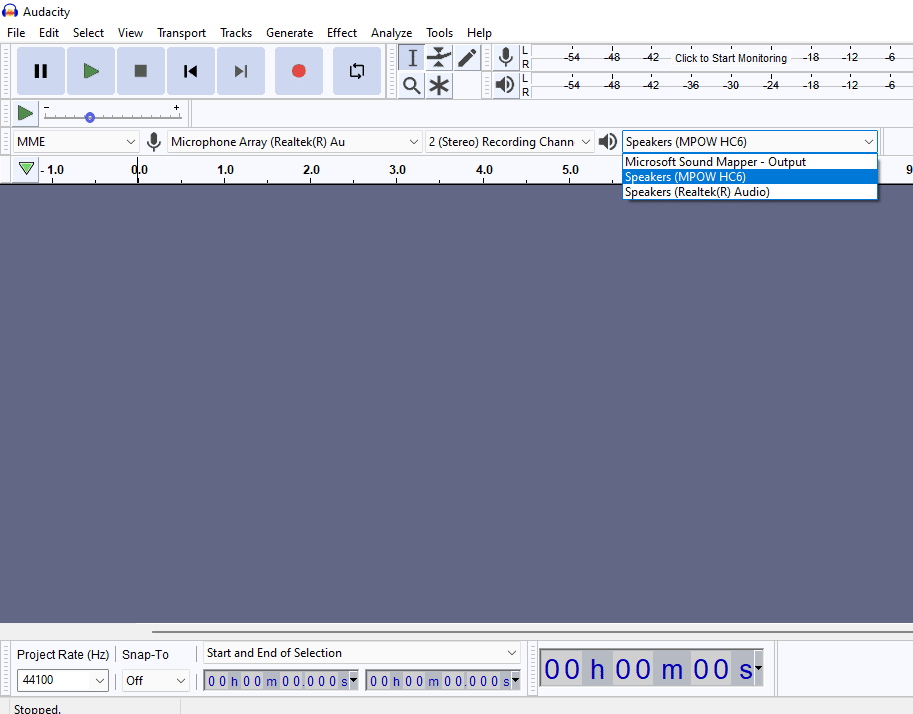
After finishing the audio source setup, you can return to the Audacity application and change the audio host from MME to Windows WASAPI.
Remember, Do not skip this part because doing so will not create a good result of recording your own voice and audio calls with other people.

-
STEP 7
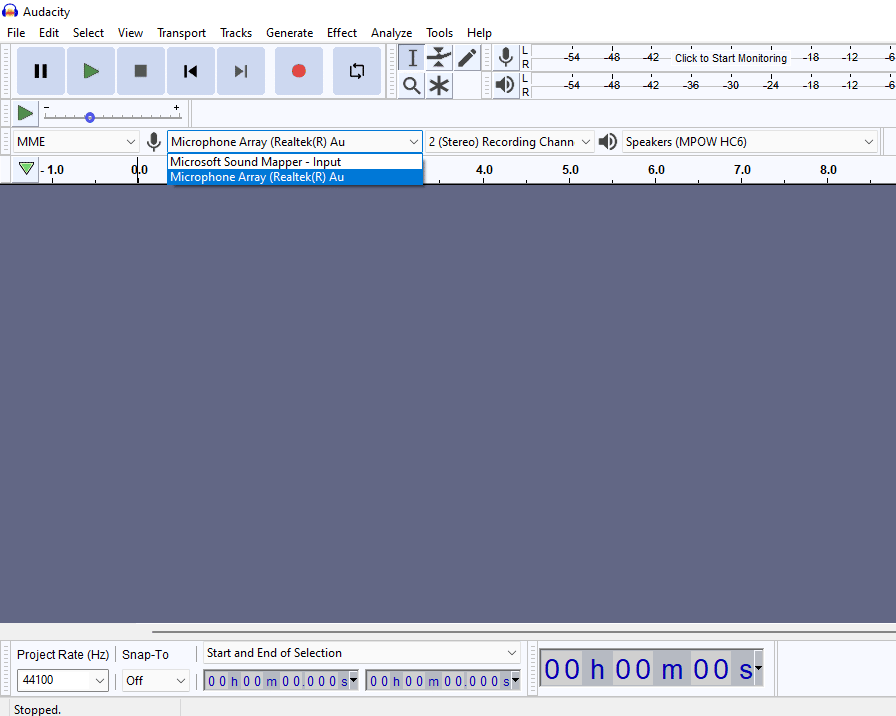
Set the input device by choosing the microphone you will use to start recording voice chat.

-
STEP 8
Set the playback device according to your desktop audio source.

-
STEP 9
Perform a short test recording to ensure everything is working, and you can record audio. You can do this by clicking on the red Audacity record button.
Troubleshooting Why Audacity Isn’t Recording Voice Calls
You might encounter some issues. Thus, Audacity is not recording voice calls. Here are some errors you might face, and here’s how you can fix them:
-
Microphone is not working
You can troubleshoot this through the audio settings on your computer. Double-check and make sure everything is properly set up.
-
Audacity was not properly set up
Maybe the application was not appropriately installed. You can fix this by uninstalling and reinstalling Audacity on your computer. Reset all preferences if your computer asks for them.
-
Steps were not followed accordingly
Make sure that all instructions are followed. You mustn’t skip the steps to record audio successfully.
Other Ways You Can Record Your Discord Audio
The downside of Audacity is that it only enables a single audio input recording device, meaning you can either record yourself or you can only record the Discord audio of your peers. If you’d rather opt to record audio of both you and your friends on a Disord voice channel, you can use any of the following methods.
-
Craig bot
Craig is a Discord bot that can record multiple channels and save them on Cloud. You have to invite Craig into your server to let this bot record audio conversations on any voice channel individually or multiple channels.
You can then invite Craig bot into a channel you want it to record Discord audio into. After your voice chat ends, you can ask Craig to leave the channel by typing the command in the message box. As soon as the Craig bot stops recording, you will receive a link where you can download the audio recording and save it on Google drive.
-
OBS (Open Broadcast Studio)
Most gaming streamers record audio with OBS as it not only supports multiple audio inputs, but also produces the highest audio quality among the mentioned programs in this article.
However, although OBS is the best among these programs, it is quite tricky to use it, as it requires a lot of steps to set up. You can read the in-depth tutorial on how to set up OBS through this link https://www.discordtactics.com/how-to-record-discord-audio/