

While using @everyone to notify all your members is very useful, your ability to address everyone can be massively improved with the addition of an announcement channel.
Typically an announcement channel, as the name might imply, is used to make announcements to your Discord Community.
Separating the announcements channel from any other existing channel can improve viewability, allowing your server members to properly see your important message.
This guide will cover how to set up an Announcement channel, how to post an announcement, as well as how to set member permissions to keep your channel free of spam.
Creating Announcement Channels in Your Discord Server
While announcements can be made in any channel, this step-by-step guide will walk you through how to make official announcement channels in your own Discord server.
For the desktop Discord app:
- Click the arrow next to the server name
- In the drop-down list, select Create Channel
- Select Text channel
- Type in the name of the channel (ex. Server Announcements)
- Click create channel
For the mobile Discord app:
- Tap the three-dot icon next to the server name
- Tap Create Channel in the menu
- Select Text Channel and type in the name of the channel
- Tap the checkmark in the top right corner
How to Personalize Your Announcement channels
Your channel is now created, however, you may want to add some restrictions and personal touches to the channel.
-
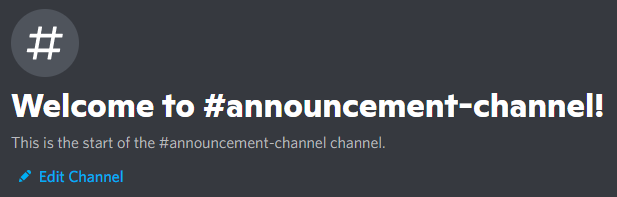
STEP 1

To do this find the edit channel option in the announcement channel.
-
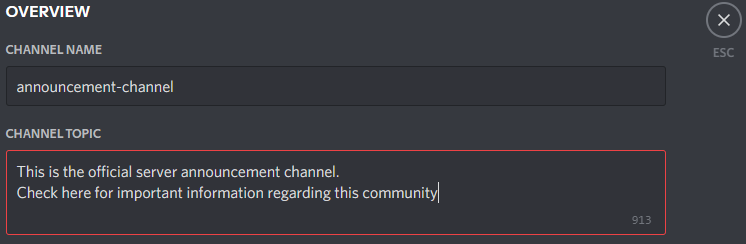
STEP 2

In this menu, you can add an explanation of what the channel is for under the channel topic.
-
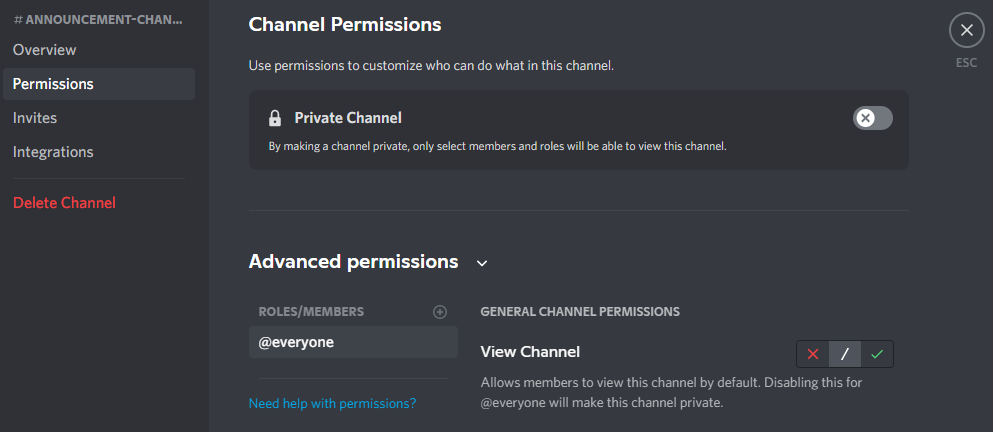
STEP 3

You may also find it useful to restrict who can send messages in the channel. You can do this in the channel permissions section in channel settings.
-
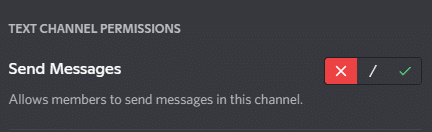
STEP 4

Here you can choose which roles and members are able to post by turning off the send messages permission.
Specialized Announcement Channels
An announcement channel doesn’t always have to be for everyone in a community. Sometimes a Discord community server will create specific channels that only certain members of the community can view.
This can be done by server admins assigning roles to community members that have been given specific permissions via the server settings.
This will make it so that only people interested in the channel’s content are notified when an announcement is made.
Organizing your community server this way can reduce the clutter other users see. Only specific roles will be able to see the channels they have been given access to in the channel list.
How to Create Events Using Discord
Discord has released a new function for server moderation that is pretty cool.
An event works differently from a discord announcements channel but can serve a similar purpose.
-
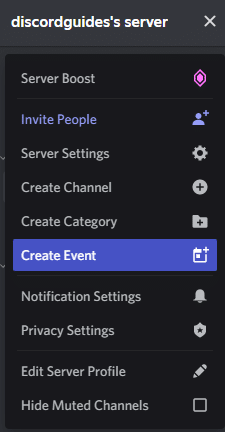
STep 1

You can find the Create Event option by clicking on the server name and scrolling down the drop-down menu.
-
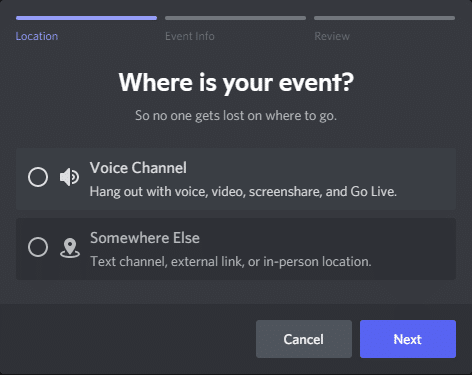
STep 2
Next, you will choose the location of your server event. Maybe it is a get-together in a voice channel, a discussion in a text channel, or even a real-world meet-up.

Choosing a voice or text channel on Discord will require you to select an existing channel where the event will be hosted.
-
STep 3

Then you can give your event a name and description that will properly represent the event.
-
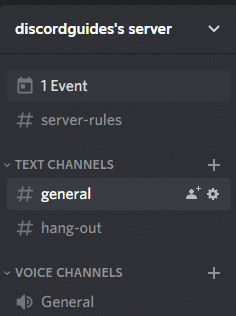
STep 4

Hit Next and if you are satisfied hit Create event. You will be given a link for quick sharing, but the event will also show at the top of your server for all to see.
-
STep 5

Clicking on the event brings up the details and the ability for members to show that they are interested in attending.

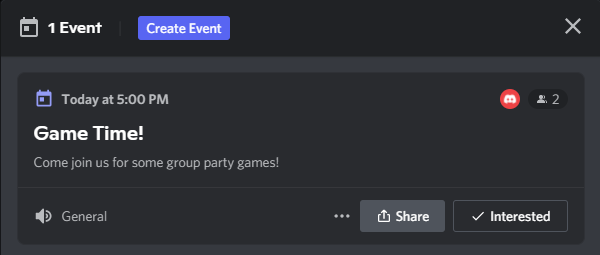
So while not technically an announcement channel, an event can be used in a similar fashion to alert your community of a planned function.